Approximately 90 minutes for this design
Materials:
-Onesie or item to be embroidered
-needle
-embroidery thread
-hoop (optional)
-design
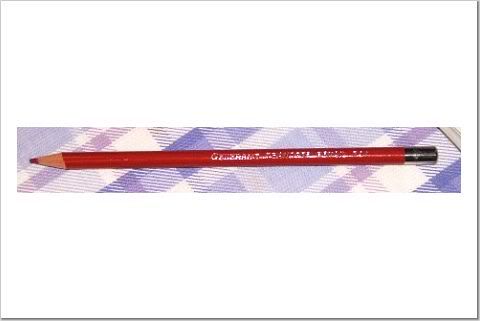
-iron-on transfer pencil
-iron
Instructions
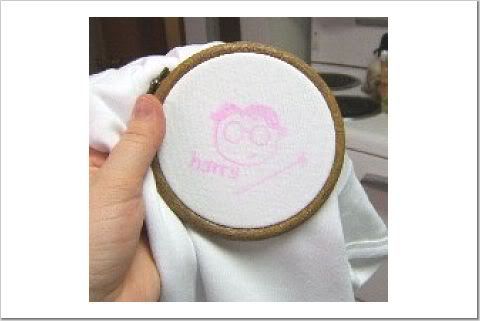
Step One: Draw or print your design. I drew one but online clipart can be a good source of designs as well. Some people also trace photos to make their designs
Step Two: Create your transfer pattern.
Transfer pencil- you can buy these at craft or sewing stores and they are inexpensive.
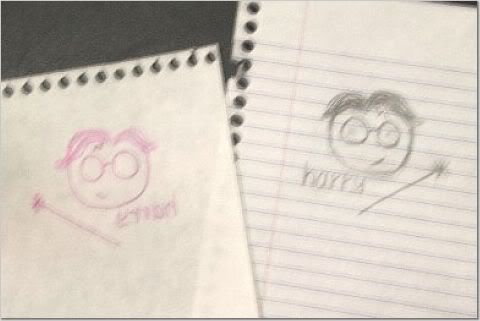
You can directly trace your pattern or you can make a mirror image if you don't want the image to be flipped when you iron it on. I made a mirror image so "harry" wasn't backwards when I ironed it on.
My original design and the transfer pencil mirrored image:
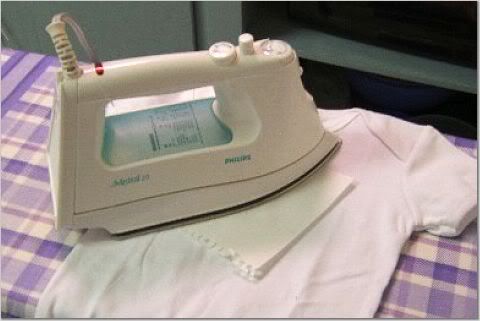
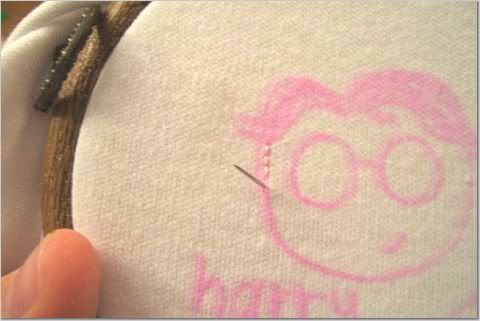
Step Three: Iron on Your Transfer- Pin the design, transfer side down. Use a hot iron (wool setting) but no steam. Lift up a corner occasionally to check your progress. If it isn't marking as clearly as you would like, go over it with the iron a little longer. Be careful not to scorch your fabric.
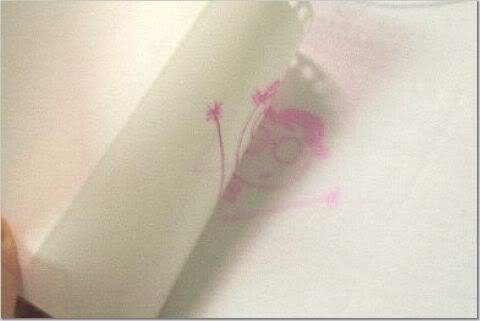
Me peeking to make sure my transfer is copied
Step Four (Optional): Place item into an embroidery hoop to keep fabric tight for stitching. I did needlework for years without using hoops but some people find it easier to use them.
Remember to only put the front part of the onesie in the hoop so you aren't sewing the front and back together (it's been done. I've also sewed things onto my pants accidentally. I'm so cool that way).
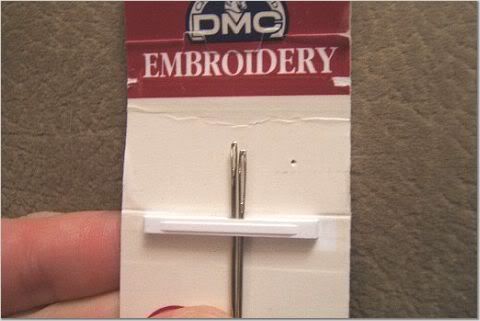
Step Five: Thread Your Needle
Embroidery needles have elongated eyes (the hole in the top of the needle). You could use a regular sewing needle but they are harder to thread with embroidery floss.
Embroidery floss comes in six strands. The standard is to use two strands for embroidery and cross-stitch. For daintier work, use one strand and more a thicker look use three or more. Cut a length of thread and separate the strands. Tip: if you hold the end of the threads you can pull them apart more easily, or just remove one thread at a time to prevent tangles.
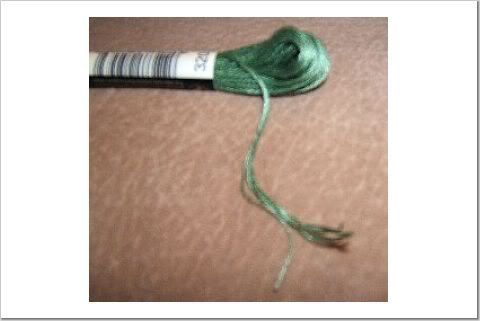
The thread is numbered for kits or fancy patterns. For this kind of embroidery just use whatever colours you like. In a pinch or for fun you can substitute other threads instead of embroidery floss. I pulled apart a cloth napkin once when I ran out of white thread for a project and used the threads for embroidery. In this project I also pulled apart some yarn and used that for Harry's hair.
In embroidery you usually don't knot your thread but since I want to throw this onesie into the wash I knotted the end of my thread.
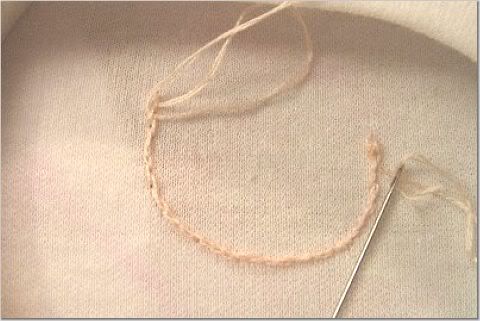
Step Six: Stitching
I began with a basic backstitch for Harry's face.
At the end I want another knot to make sure my thread isn't going to come out in the wash. To make a knot at the end it's easiest to go under a stitch or two you've done and then go through the loop to secure it to the fabric.
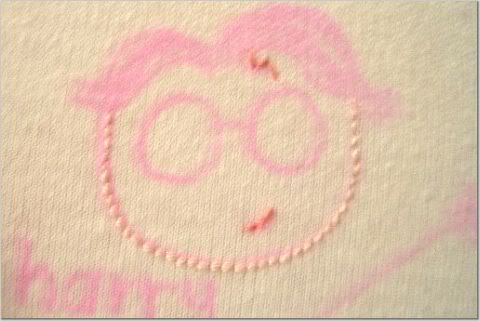
Twenty minutes after I started stitching I have this- Harry's face, mouth and scar
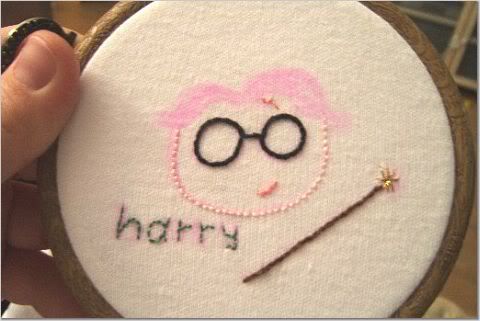
I wanted Harry's wand and glasses to be thicker so I used three threads instead of two and I did a split stitch
I did an algerian eye stitch in metallic thread for the tip of the wand.
I wanted his hair to be textured so I used threads I pulled from yarn. Harry's hair
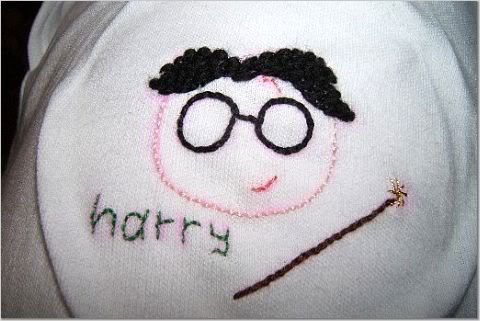
Step Seven: Wash the onesie to remove the transfer pencil.
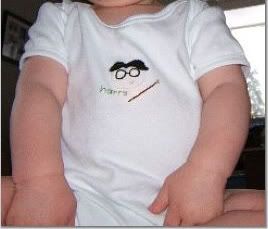
Ta-da!!
3 comments:
All bow to the Craft Goddes!
We're not Worthy! We're not Worthy!
Just found your blog through Kids Craft Weekly. I just love the Harry design. Very cool!
Post a Comment