Front material (I used a piece of embroidery)
Padding- preferably something absorbent like terrycloth
Back material
Bias tape
Needle and thread or sewing machine
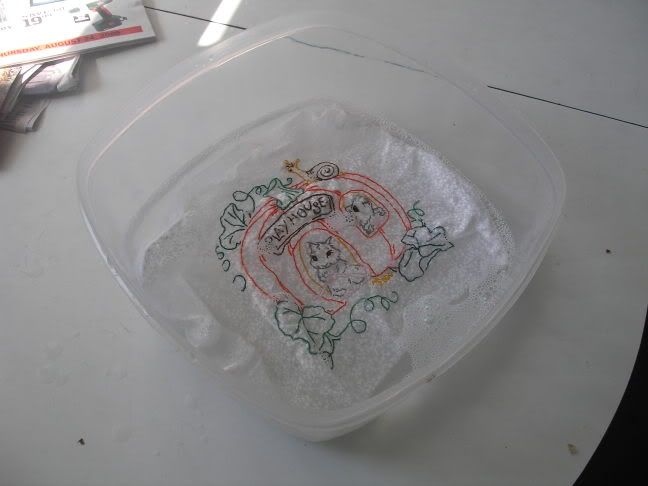
If you are using a piece of embroidery wash it first
Cut out a paper pattern for the size you want your bib to be. I just made one up but you can probably find patterns online or trace a bib you already have.
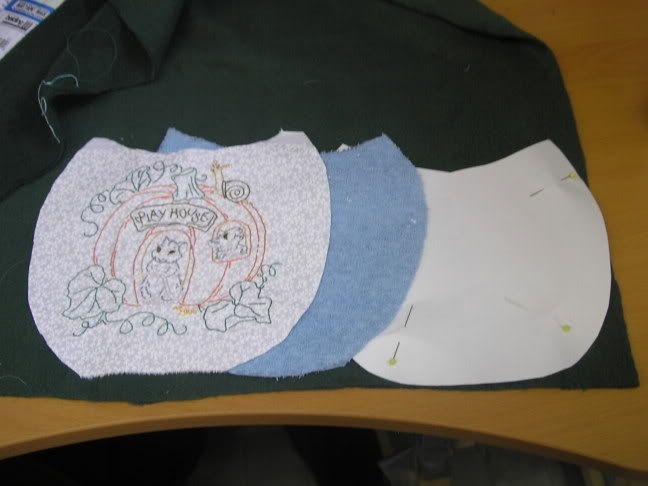
Pin your paper pattern to the front material, cut it out and then pin and cut out a piece for the padding and the back material.
Here I already cut out the front and padding, and am about to cut some green fleece for backing.
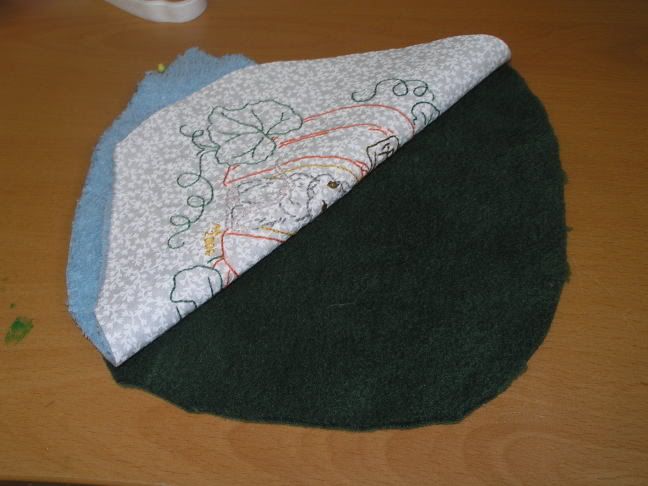
Pin together all 3 layers with the "good" sides of your front and backing together
Sew around the sides and bottom, leaving the neck part open
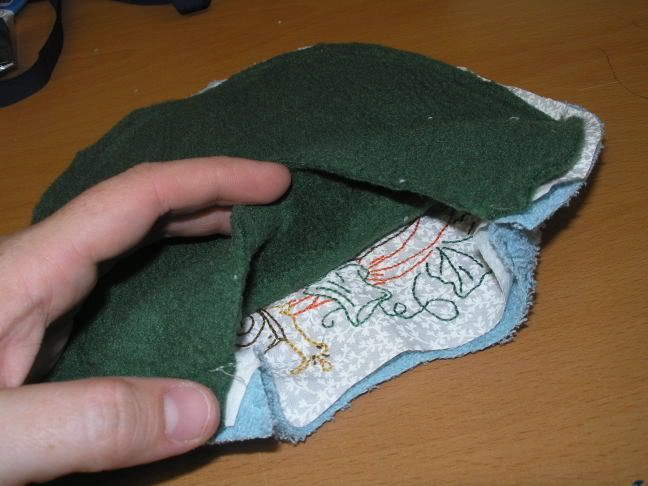
Turn inside out and pin your bias tape along the neck piece, with long ends extending on both sides to tie around the neck. Sew along length of bias tape, making sure you are sewing through all 3 layers and both sides of the bias tape.

Things I learned making this tutorial:
- don't use a piece of embroidery that took you two weeks to finish when first attempting a project where you are making up directions as you go along.
- fleece and terrycloth makes the bib a bit too thick, better to use just fleece or terrycloth with cotton on the back.
- when using a piece of embroidery it's better to have some fabric framing the piece instead of a close seam as it will look nicer.
2 comments:
tutorial and bib look great!! I'm going to make some bur[ cloths soon, I'll do my darndest to remember to do a tutorial.
I am making more of these but a different shape and also realized that if you top-stitch around the edges when you are done it looks a lot nicer.
-A
Post a Comment