Wednesday, August 30, 2006

Space Feltboard


Today we made a space feltboard since he is enjoying the Chicka chicka Boom Boom one so much! It took me forever to find pictures I was happy with and to squeeze them onto 2 pages of iron on transfer paper. But then I didn't peel the backing off before ironing them and I had to print them all over again! What a PITA! So same idea as last time, staple gunned ( I LOVE my staple gun) the felt to the canvas. Iron on transferred planets, nebula, moons, asteroids, spaceship, cassini-huygens etc.. onto balck felt and cut it out. Melissa

Thats a wrap!

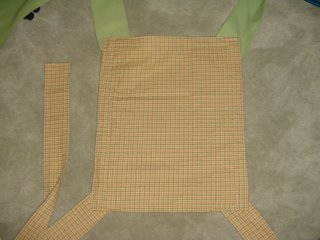
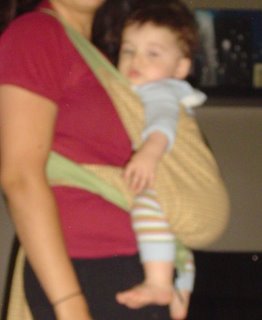
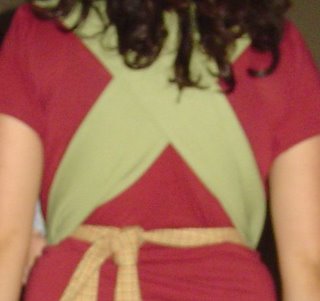
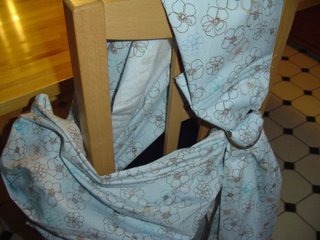
Last night I was totally motivated to make a carrier that I could use comfortably for both Brodie and Cooper. So I made a wrap!

Here are some links to how it goes on from the Ellaroo brand website:

http://ellaroo.com/WrapCarrierBrochure.pdf

I changed mine a few ways, I didn't like the width so I made it narrower. I also didn't like tieing a knot so I put in 2 rings I had for slings so that I could tighen it by cinching it instead and also not require as much length. I LOVE this carrier. i actually prefer it over a sling. I practiced wrapping it last nigth after I finished it so today it would be a cinch getting them in and out. Maybe 2 times and it was easy peasy.

I tried both boys in it this morning and both were happy. Brodie could give me a full review and said it was really comfy and cozy lol. He was really happy it was black for some reason which was quite amusing to me. My baby's favourite colour is black LOL.

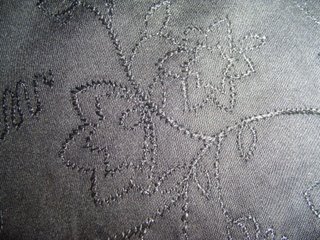
I used this fabric which is a black with black embroidery on it. It has a slight stretch to it. Oh and don't you love these pictures taken of me before 8am LOL. can you say YIKES! Melissa


Tuesday, August 29, 2006

danger!


Very stinky bottom ahead...I forgot I made this about a month ago. Found it in my messy computer area so Cooper can finally wear it. unfortunately he's almost outgrown it! M

Sunday, August 27, 2006

Wooden Dollhouse

I'm working on Christmas gifts now and can't spoil any suprises so I will be posting some crafts I have made in the past.

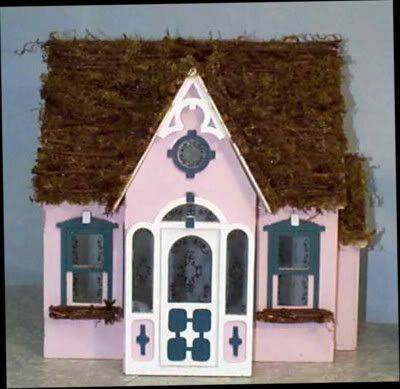
A wooden dollhouse, made from a kit. Glued and painted by me. It came with shingles but I went for moss and willow instead and made little flowerboxes to match. Sold on eBay.


I used to make a lot of miniatures but since the craft room downsize some mediums had to go and I sold all my miniature making items.

Saturday, August 26, 2006

Chicka Chicka Boom boom felt board


The one picture with 3 letters wasn't enough for brodie! So we finished this felt board today. He's so cute he's sitting on the floor singing the words and moving around the letters.

So construction of this was pretty easy. I had an old canvas lying around so I got a big piece of white felt from fabricland and staple gunned it to the fram. Then I staple gunned the ribbon around the trim. I cut all the alphabet out of felt, same with the leaves, coconuts and tree trunk. Since its all felt then it all sticks and can be moved around.

Initially I glued the tree to the felt but I'm going to use embroider thread now through the leaves because Brodie likes to hide the letters in the leves and the glue isn't holding. :) M

Lined sling


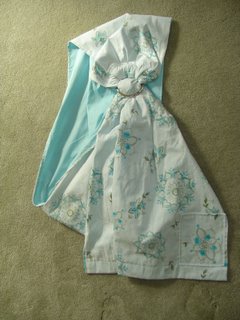
I finished this lined sling this morning for Brett's cousin in halifax. It doesn't show up int he picture but where ever its gold coloured its slight sparkly. its so pretty :)

In hindsight for lined ones I'm going to use 3 inch rings because its a little tight moving them through. I may pop out and get some and fix it before I send it....actually I know I will.

Edited to add : I did replace the rings with 3 inch ones and it worked much better! M

Friday, August 25, 2006

Belts


Brett is driving to Calgary tomorrow to pick up a deep freeze my sister is giving us. So I knocked off these belts for him to deliver. M

Thursday, August 24, 2006

more pouches

Ahhh time in the sewing room again!

Wednesday, August 23, 2006

halloween costume


Brodie can be such an easy kid to pleas. first he said he wanted to be a spider for halloween. Then the last ocuple of days he decide to be the letter X. So since I wasn't to thrilled with the mei tei (se below) I hacked off the ties and stuffed them (with brodies help). Then he helped me sew them. The X is attached to a thick waistbelt so he can wear it over clothes or jacket depending on the weather this year. He is thrilled with it and I imagine will be wearing it around everyday. I'm sure I'll be making some more letters before we even get to Halloween! M

Sunday, August 20, 2006

Mei Tei sling


I tried A's meit tei on yesterday and it ws great so I tried to maek my own last night from some online tutorials. First go went okay. I rounded up some fabric I had kicking aroud and had enough to make a carrier more appropriate for fall. I think with some tweeking this one could be really good.

So on the outside you see the orange and green and cream check, ont he inside is an oatmeal coloured ribbed fleece.

I am going to chang the waist tie to a ringed belt and velcro since I don't like the excess fabric dangling about. I am also going to make the body of it shorter since Cooper likes to keep his arms out of the carrier.

I tihnk next time will go alot smoother for sure! It did take 3 times (3 hours) as long as making my first ring sling so I don't think I'll be knocking off a bunch of these lol. M

Saturday, August 19, 2006

Bib Tutorial

Materials:

Front material (I used a piece of embroidery)
Padding- preferably something absorbent like terrycloth
Back material
Bias tape
Needle and thread or sewing machine

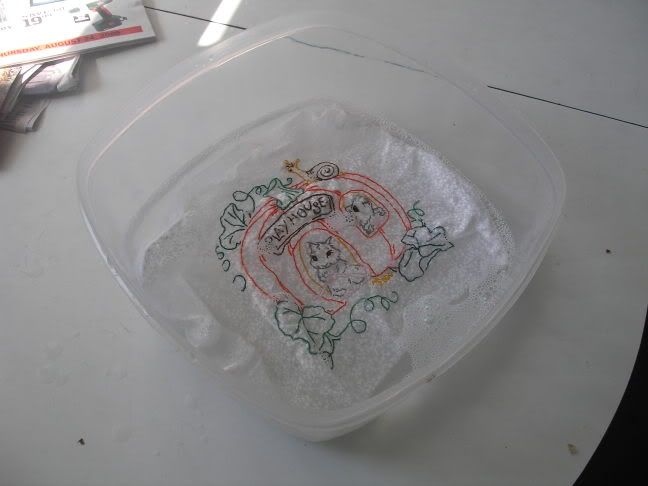
If you are using a piece of embroidery wash it first


Cut out a paper pattern for the size you want your bib to be. I just made one up but you can probably find patterns online or trace a bib you already have.

Pin your paper pattern to the front material, cut it out and then pin and cut out a piece for the padding and the back material.

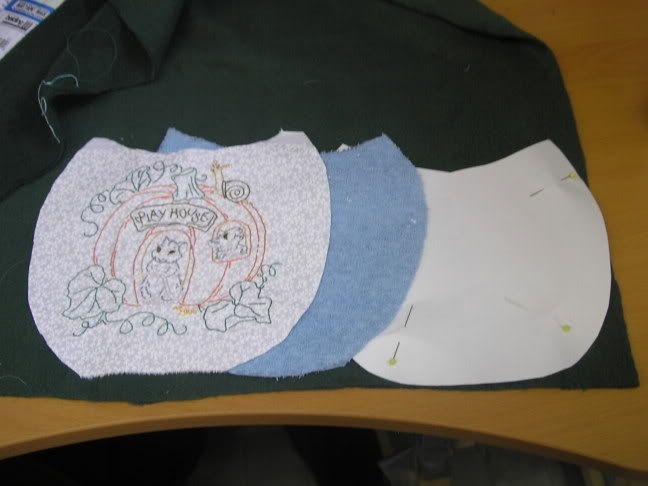
Here I already cut out the front and padding, and am about to cut some green fleece for backing.


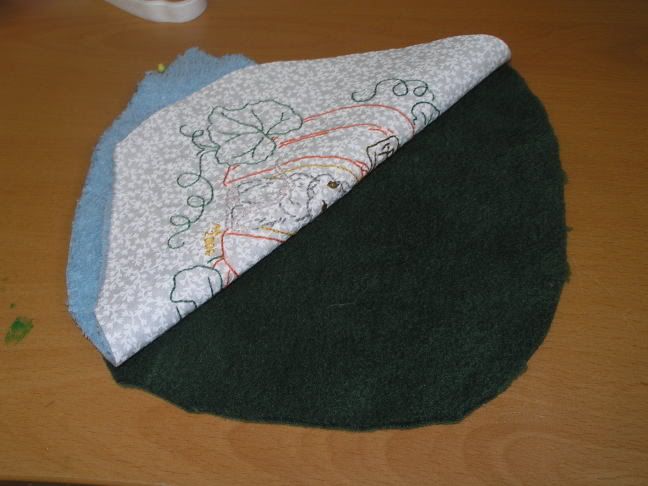
Pin together all 3 layers with the "good" sides of your front and backing together


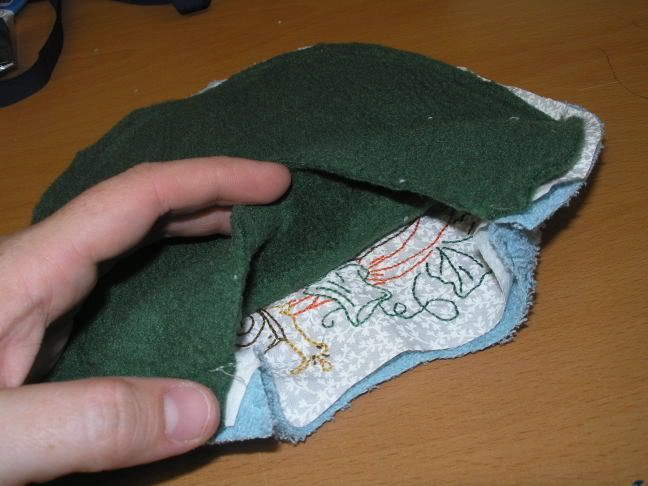
Sew around the sides and bottom, leaving the neck part open


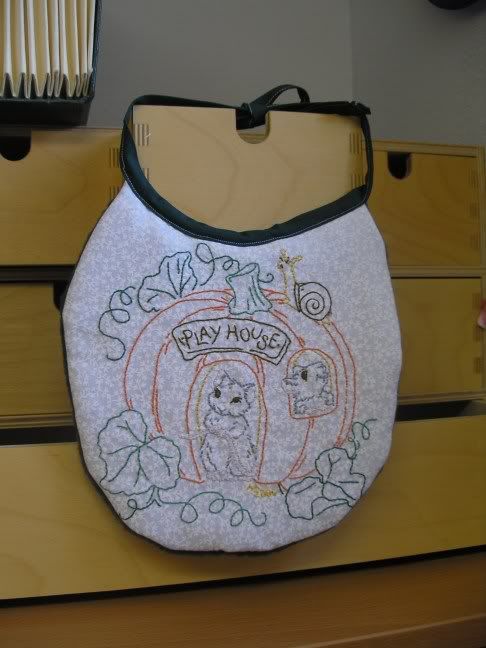
Turn inside out and pin your bias tape along the neck piece, with long ends extending on both sides to tie around the neck. Sew along length of bias tape, making sure you are sewing through all 3 layers and both sides of the bias tape.


Things I learned making this tutorial:
- don't use a piece of embroidery that took you two weeks to finish when first attempting a project where you are making up directions as you go along.
- fleece and terrycloth makes the bib a bit too thick, better to use just fleece or terrycloth with cotton on the back.
- when using a piece of embroidery it's better to have some fabric framing the piece instead of a close seam as it will look nicer.

Wrapping Paper Alternative

Wrapping paper seems like such a waste, I usually wrap adults' presents with a piece of yarn tied nicely but for kids' presents usually you still want it to be a suprise so I sewed bags for the birthday parties we attended today.


Other alternatives could be receiving blankets to wrap baby presents in (thanks m, for the suggestion) or dishcloths for adult presents (especially housewarming gifts) or holiday themed napkins/dishclothes/tablecloths could be used to wrap holiday gifts.

Any other wrapping paper alternative ideas?

Monday, August 14, 2006

Embroidery Tutorial

Time:
Approximately 90 minutes for this design

Materials:
-Onesie or item to be embroidered
-needle
-embroidery thread
-hoop (optional)
-design
-iron-on transfer pencil
-iron

Instructions

Step One: Draw or print your design. I drew one but online clipart can be a good source of designs as well. Some people also trace photos to make their designs

Step Two: Create your transfer pattern.

Transfer pencil- you can buy these at craft or sewing stores and they are inexpensive.


You can directly trace your pattern or you can make a mirror image if you don't want the image to be flipped when you iron it on. I made a mirror image so "harry" wasn't backwards when I ironed it on.

My original design and the transfer pencil mirrored image:


Step Three: Iron on Your Transfer- Pin the design, transfer side down. Use a hot iron (wool setting) but no steam. Lift up a corner occasionally to check your progress. If it isn't marking as clearly as you would like, go over it with the iron a little longer. Be careful not to scorch your fabric.


Me peeking to make sure my transfer is copied


Step Four (Optional): Place item into an embroidery hoop to keep fabric tight for stitching. I did needlework for years without using hoops but some people find it easier to use them.


Remember to only put the front part of the onesie in the hoop so you aren't sewing the front and back together (it's been done. I've also sewed things onto my pants accidentally. I'm so cool that way).

Step Five: Thread Your Needle
Embroidery needles have elongated eyes (the hole in the top of the needle). You could use a regular sewing needle but they are harder to thread with embroidery floss.
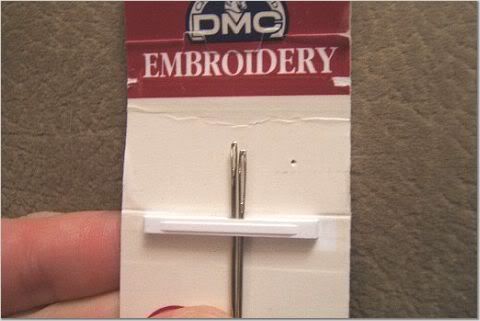


Embroidery floss comes in six strands. The standard is to use two strands for embroidery and cross-stitch. For daintier work, use one strand and more a thicker look use three or more. Cut a length of thread and separate the strands. Tip: if you hold the end of the threads you can pull them apart more easily, or just remove one thread at a time to prevent tangles.


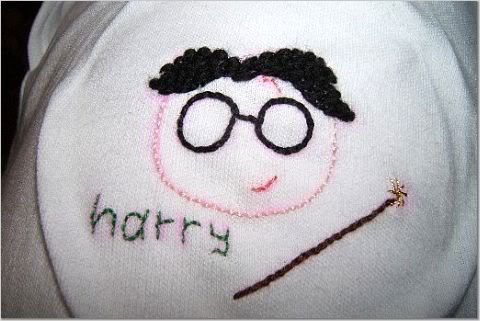
The thread is numbered for kits or fancy patterns. For this kind of embroidery just use whatever colours you like. In a pinch or for fun you can substitute other threads instead of embroidery floss. I pulled apart a cloth napkin once when I ran out of white thread for a project and used the threads for embroidery. In this project I also pulled apart some yarn and used that for Harry's hair.

In embroidery you usually don't knot your thread but since I want to throw this onesie into the wash I knotted the end of my thread.

Step Six: Stitching

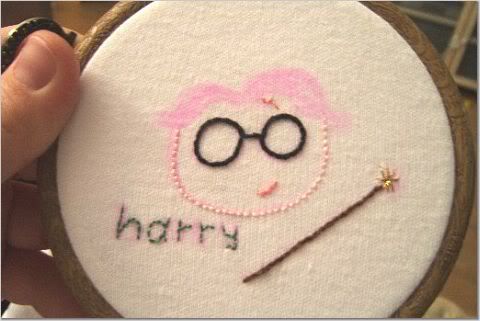
I began with a basic backstitch for Harry's face.
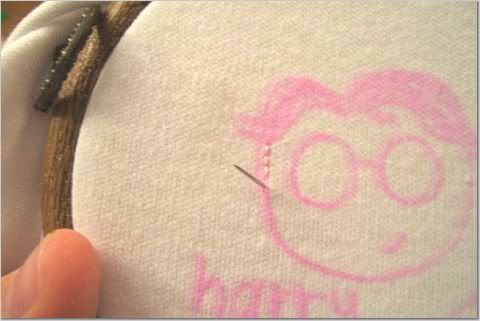


At the end I want another knot to make sure my thread isn't going to come out in the wash. To make a knot at the end it's easiest to go under a stitch or two you've done and then go through the loop to secure it to the fabric.


Twenty minutes after I started stitching I have this- Harry's face, mouth and scar
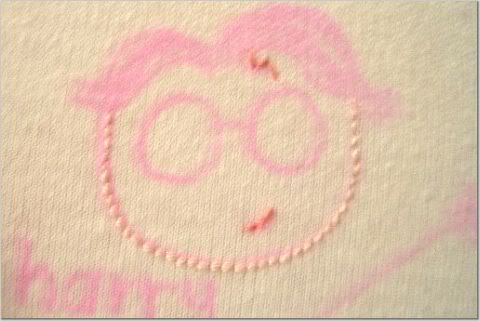


I wanted Harry's wand and glasses to be thicker so I used three threads instead of two and I did a split stitch

I did an algerian eye stitch in metallic thread for the tip of the wand.


I wanted his hair to be textured so I used threads I pulled from yarn. Harry's hair


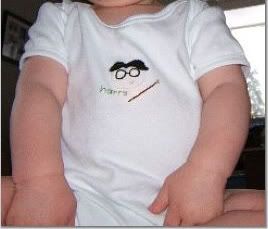
Step Seven: Wash the onesie to remove the transfer pencil.

Ta-da!!
Sunday, August 13, 2006

First belt


I made this today! I'm so excited to find crazy material that would be too loud for anything big, but perfect in small doses. I think I will hit VV to find some retro clasps on belts and update the material. The only D rings I found at fabriland were to make narrow belts like this. M

Musical notes


I finially finished Brodie's musical notes last night. He loves them :) has his own little tune he says it plays. M

Tuesday, August 08, 2006

Camping Belt


I made this for Brodie this monring to take camping. So he can have lots of pockets to put rocks and keep his cars while his hands are busy...although its just not for camping since he refuses to take it off :) M

Monday, August 07, 2006

Curtain for Door, Son trying to Escape

Total fluke that the fabric matches our walls spot-on. The curtain rod is an old towel rack; the scavenger strikes again!


PS- am almost done Project Which Shall Not be Named!

Sunday, August 06, 2006

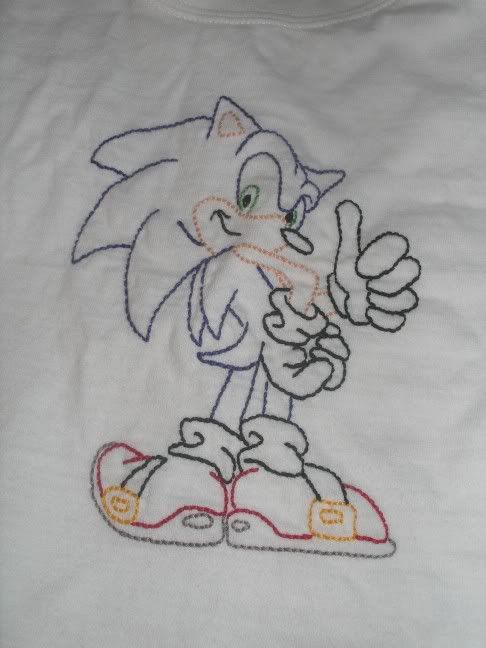
Sonic the Hedgehog


This t-shirt is a gift for a son of a friend of mine. I hope he likes it, as soon he would probably rather eat raw worms than wear something his embroidered by his aunty.

Saturday, August 05, 2006

Kids Craft Weekly

This site is so sweet and I look forward to doing some of the lessons once DS is a bit older. I did show him the little felt mouse and he wanted me to make him one.

Kids Craft Weekly

Chicka Chicka Boom Boom


BRodie is sick so we did this quiet time craft today. He loves the story Chicka chicka Boom Boom. We dno't have the book but a 5 minute dvd where they used the art from the book to animate the film to music. So all the words are sung. its fantastic!

Friday, August 04, 2006

I Bought a Rootbeer Just to Make This

I saw it in a DIY book called Alternacrafts. They used resin to seal theirs and added all kinds of little trinkets inside. I am going to make a necklace with mine.


And yes, I did work on the Project That Shall Not Be Named today too. And I should admit to Melissa and Nicole, that yes, Lord of the Rings Part II does have a lot of stuff that happens in it and is not totally pointless.

Wednesday, August 02, 2006

babies babies everywhere!


I just finished a baby gift tonight too! But since I'm not as craftykins as mandypants I bought my diaper bag and filled it with all sorts of doodads: change pad, hand sanitizer, travel wipes, baby toy, rings to attch other toys, abgs for dirty diapers/soiled clothes, mini kleenex, baby washcloths, spare snap t....and this sling! I love love love this fabric so much I'm going back tomorrow to make an identical one for me. I did the ring securing part over your shoulder a bit differently so you fan it yourself instead of being pre done.M

Baby Gift for a Friend

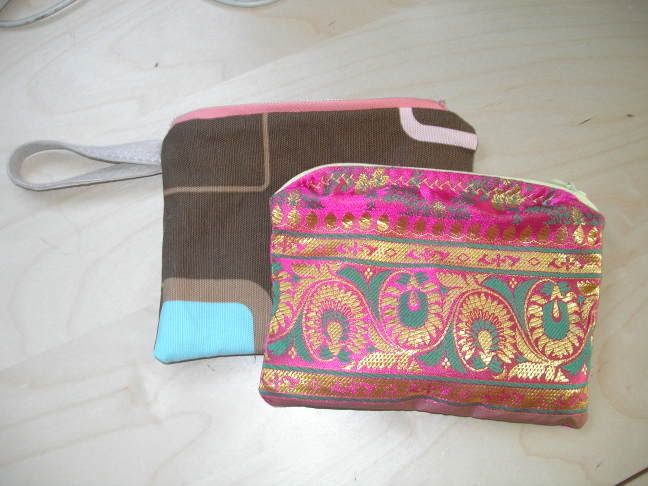
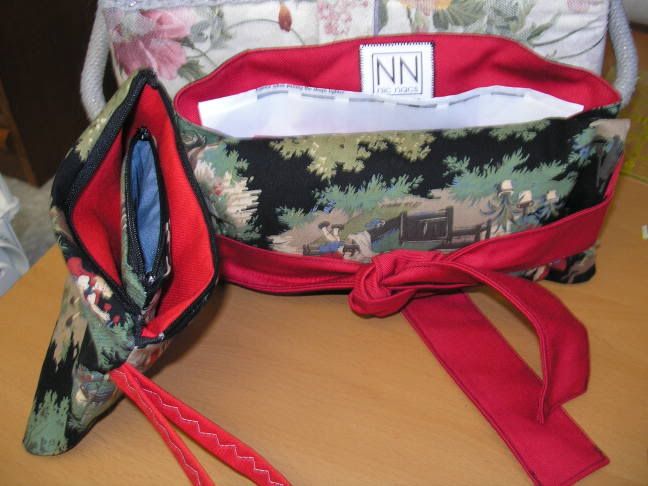
I ordered the Red Riding Hood fabric for a mei tai for a friend of mine and here is the finished product, along with a wristlet and changepurse I sewed for her as well.


Nicole is a SAHM to 3 boys (4, 2 and 3 months) and sews very comfy and pretty mei tai baby carriers. You can see and purchase her mei tais at Tadpoles and Butterflies.

Tuesday, August 01, 2006

4th sling


LOL I feel like a sling factory. Katherine picked out this awesome fabric for hers. melissa

3rd sling


I am a sling machine these days. So many babies due again! Although I am thinking this fabric is too light...so I thnk I will get more fabric today for the person I was making this for and try again :)